Standard Plan - More Power
Hosting
Standard Plan designed for mid level traffic and video delivery systems
Video Hosting
Wordpress Compatible
Speed Servers
Large Backbone Connection $49.95
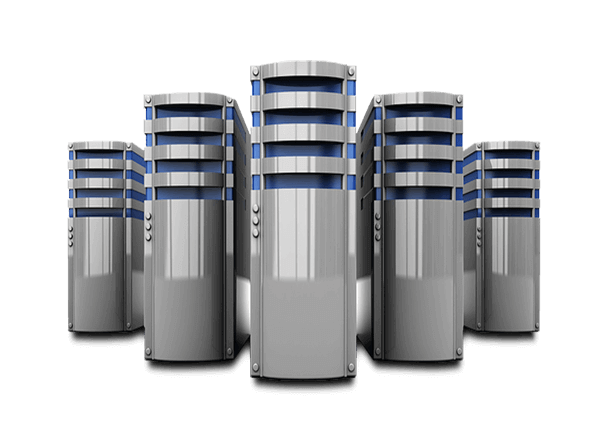
Standard Plan$49/mo
Standard Plan - More Power
Standard Plan designed for mid level traffic and video delivery systems
Video Hosting
Wordpress Compatible
Speed Servers
Large Backbone Connection $49.95
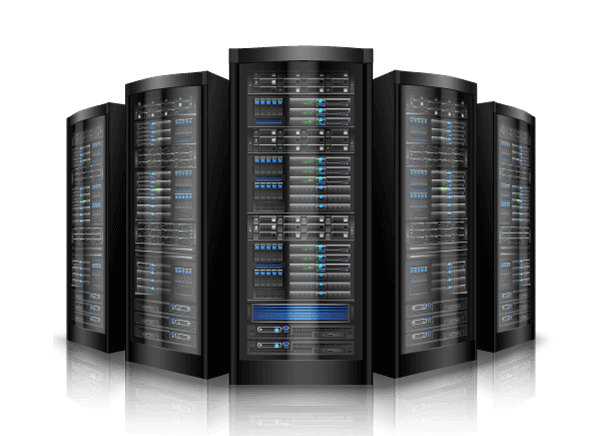
starting at$99pm/mo
Small Business
Up to 10 Domains 50 GB SSD Storage Unmetered Bandwidth Free SSL Certificate Standard Performance 5 Sub Domains
Design for video hosting
High Speed
High Capacity
SAVE 50 % with Annual Purchase !
Starter Account $19.99 Per Month19.99
Designed for small sites and Wordpress
Up to 5 Domains Unmetered Bandwidth Free SSL Certificate Standard Designed for Wordrpess or small site hosting High Speed High Capacity
Designed for Wordrpess
Blogs and Vlogs
Free Install Wordpress
Personal Support
Free Site Move Assistance

Our Standard, Small Business, and Corporate plans all have RTMP Live streaming included in hosting.
WHY CHOOSE US
Add your domain to our shared hosting and we can set up email for you
Fully dedicated server setup with managed or unmanaged account options
Buy domains at a low price with our friends at Ionos.
Transferring a domain can be a tricky process. We do it every day so if you need help transferring to Fatpipe Hosting. we can help
clients & feedback


Copyright © Fat Pipe Hosting. All Rights Reserved.

Lotus Cars Australia - Purpose- Video Hosting